It's time to get serious about Christmas Cards 😀🎄
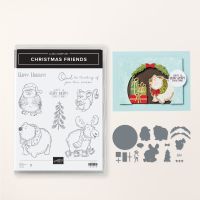
This month's Online Class featured the Christmas Friends Bundle, I am really loving these cute friends.
Every month I offer an online class on Zoom which involves buying the bundle of the month and I send you the card kits to make 3 cards. Next month's bundle is the Greetings Of The Season .
For this class I included card designs using every stamp in the stamp set.
How cute is this card? I used some Specialty Paper here.
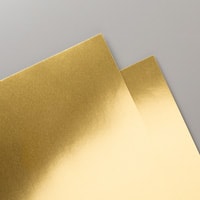
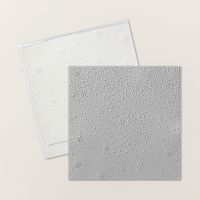
The Gold Mercury Vellum and the Regal Distressed Patterns.
Measurements
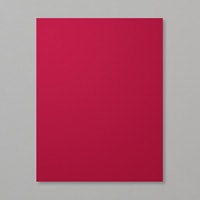
- Cherry Cobbler cardbase 11" x 4 1/4" scored at 5 1/2"
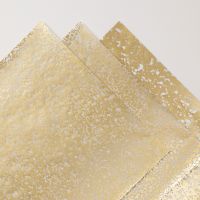
- Gold Mercury Vellum 4" x 5 1/4"
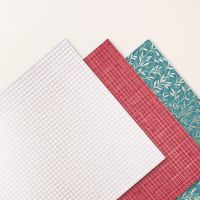
- Regal Distressed Patterns Specialty Paper 5" x 3 3/4"
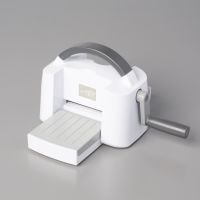
- Gold Foil Sheet - Die cut a 3 1/4" circle using the Spotlight On Nature Dies.
- Basic White - Die cut a 2 3/4" circle with the Spotlight On Nature Dies.
- Basic White scrap to stamp the owl and mouse.
- Die cut a Basic White label for the greeting (I used a Paper Pumpkin Die). Stamp with Cherry Cobbler Ink.
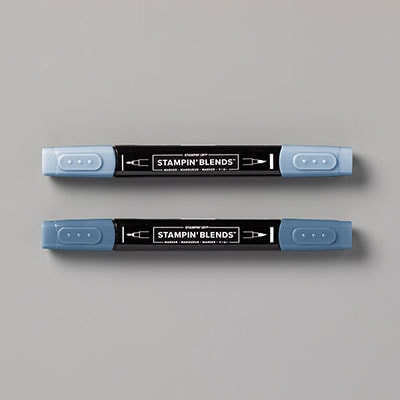
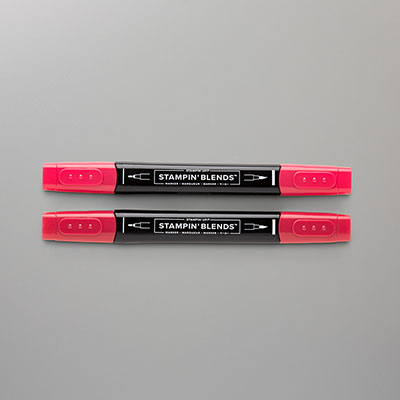
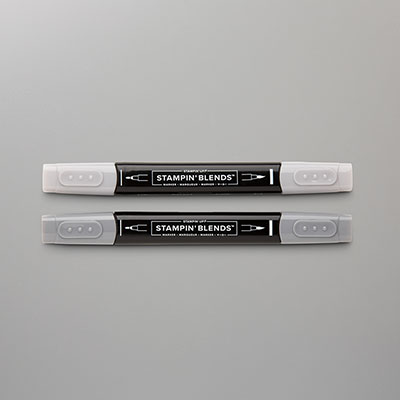
- For the animals - stamp with Tuxedo Black Memento Ink the colour with Stampin' Blends, Smoky Slate, Real Red, Bubble Bath, and Daffodil Delight. Then Die cut.
- Basic Black cardstock with adhesive sheet on the back to die cut the music notes.
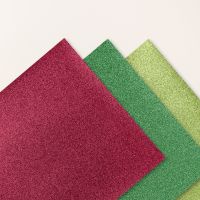
- Die cut the bow tie with the Festive Glimmer Paper.
- Embellish with the Cherry Cobbler and Pearl Berries.
This card is using very traditional Red & Green colour combo.
Measurements
- Basic White card base 8 1/2" x 5 1/2" scored at 4 1/4"
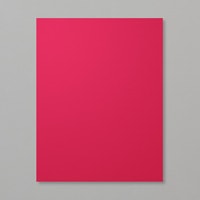
- Real Red layer 4 1/8" x 5 3/8"
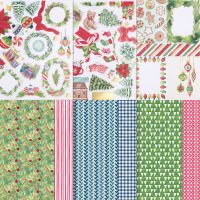
- Reindeer Days Dsp 5 1/4" x 2" (top section)
- A Little Bit Festive Dsp 5 1/4" x 2" (bottom section)
- Granny Apple Green Foil (retired) 5 1/4" x 1/4" (or you could use ribbon or trim.)
- Basic White Circle embossed with the Snowflake Sky Embossing Folder.
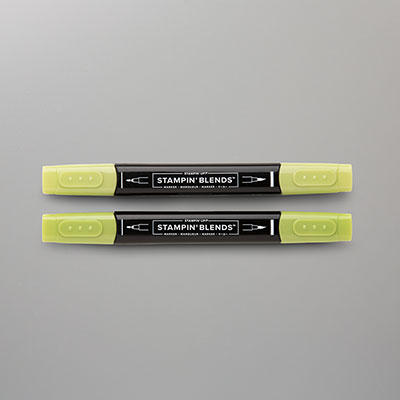
- Basic White scrap to stamp and die cut the bear and trees. Stamp the images with Tuxedo Black Memento Ink then colour with Stampin' Blends.. bear (Real Red, Granny Apple Green, Balmy Blue.) trees (Granny Apple Green and Crumb Cake)
- Old Olive and Granny Apple Green scraps for die cutting the wreath tops.
- Greeting - Basic White 1 5/8" x 3/4" Granny Apple Green 1 7/8" x 7/8"
- Die cut a Real Red bow.
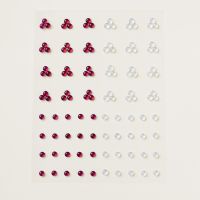
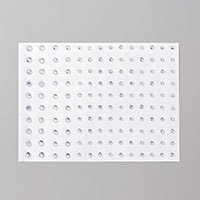
- Embellish with Rhinestone Basic Jewels.
Diamond Flip Card
Measurements
- Misty Moonlight card base 11" x 4 1/4" scored at 2 1/8 and 5 1/2" . Make a mark at the top end at 2 1/8" then cut down to the score line. As shown in diagram ↓
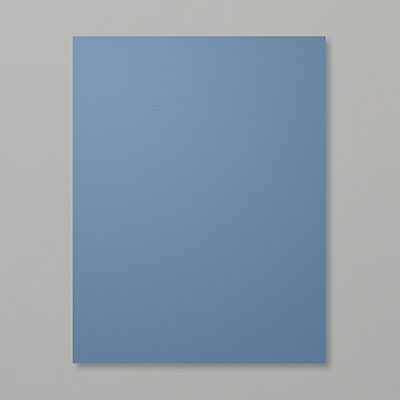
- Misty Moonlight 3" x 3"
- Basic White 2 3/4" x 2 3/4" embossed with the Snowflake Sky Embossing Folder.
- Adhere the White Square to the Misty Moonlight Square. glue the diamond to half.
- Basic White layers -(2) 4 1/8" x 3 1/8" and 4 1/8" x 2 1/8"
- Iconic Celebrations Dsp (3) 4" x 3"
- Basic White scrap to stamp and colour the Moose. Stampin'Blends = Crumb Cake, Medium Deep Natural Tones, Cajun Craze, Misty Moonlight and Smoky Slate.
- Die cut 2 presents with Granny Apple Green & Cherry Cobbler card stock and add the Festive Glimmer Paper for the trim.
- Basic White banner from the Stylish Shapes Dies and stamp the sentiment with Misty Moonlight Ink.
- Embellish with Rhinestone Basic Jewels.
Next Class Coming Soon !
Do you love making cards?
Would you like to learn how to start?
Join me on the 2nd Tuesday of the month.
If you live in Oshawa or surrounding area why not come and craft with us.
Register Here
🛍 Shop in my Online Store : https://tinyurl.com/4chv6v3h
Newsletter: https://creativecardsbyannemarie.aweb.page
Online Exclusives:
https://www.stampinup.ca/categories/shop-products/featured-products/online-exclusives?demoid=2218452
Creative Cards by Anne Marie Facebook Page:
Join My Team:
Subscribe to Paper Pumpkin:






No comments:
Post a Comment