❄️ Winter Magic with the Winterly Tree Tops Bundle
Hello and welcome back to my blog!
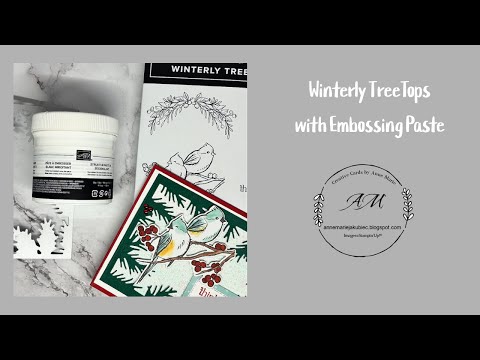
In this week’s video, I’m sharing a card project featuring the Winterly Tree Tops Bundle — one of my new favourites for cozy, seasonal crafting. This bundle is perfect for creating peaceful winter scenes or festive holiday cards, with beautiful layered trees and coordinating dies that make designing effortless.
In the video, I walk you through how I built the soft winter background, added texture with the tree layers, and finished it off with a simple sentiment for a clean and elegant look. Whether you love snowy scenes or just want a set that works all winter long, this bundle is sure to inspire your next crafting session.
✨ Watch the video below to see how it all comes together step by step!
Then, don’t forget to check out the supply list and measurements so you can recreate this project at home.
I’d love to see your version! Tag me or leave a comment letting me know how you use the Winterly Tree Tops Bundle in your own creations.

Measurements....
- Real Red Card Base 8 1/2" x 5 1/2" scored at 4 1/4"
- Shaded Spruce card stock 5 1/16"x 3 3/4"die cut with greenery frame.
- Basic White 5 1/4" x 4"
- Basic White 4 3/4" x 3 1/4" spread with Shimmery White Embossing Paste, when dry dry emboss with the snowflake Embossing Folder.
- Die cut the birds from the Nests Of Winter Dsp
- Stamp the greeting in Real Red Ink and die cut with the Notes Of Nature Dies
- Embellish with Real Red berries.


No comments:
Post a Comment