Unlock Creativity with the Corner In Bloom Stamp Set
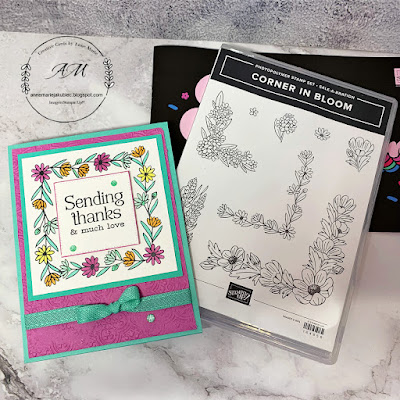
Saleabration is here, and with it comes the beautiful and versatile Corner In Bloom stamp set – yours free with a qualifying purchase! This stamp set features stunning floral designs perfect for creating cards that celebrate any occasion. Today, I’m sharing a step-by-step guide to creating a vibrant card using this fabulous set. Let’s dive in!
What You’ll Need:
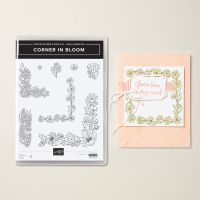
Corner In Bloom stamp set (free during Sale-a-Bration!)
Cardstock: Summer Splash, Petunia Pop, and Basic White.
Ink pads: Tuxedo Black Memento
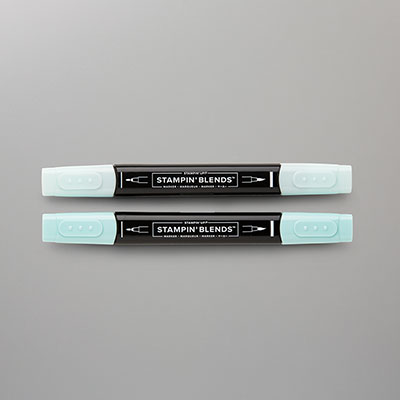
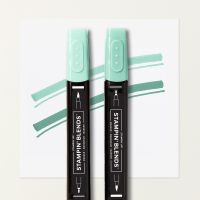
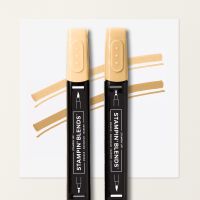
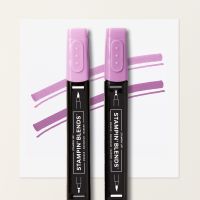
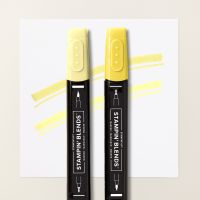
Stampin' Blends Markers: Petunia Pop, Peach Pie, Summer Splash, Pool Party and Lemon Lolly.
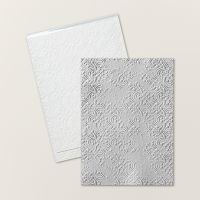
Embossing Folder: Distressed Tile 3D
Adhesive: Stampin' Seal or Multipurpose Liquid Glue and Stampin Dimensionals.
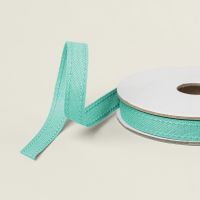
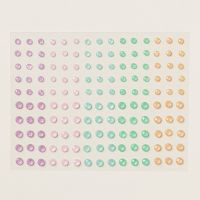
Embellishments: 2024-2026 In Color Shimmer Gems. Summer Splash Ribbon.
Paper trimmer and Stampin' Cut & Emboss Machine.
Step 1: Create Your Base Cut a piece of Summer Splash cardstock to 8.5" x 5.5" and score at 4.25" to create a standard A2 card base. Fold and burnish the crease. Emboss the Petunia Pop layer(4" x 5 1/4".
Step 2: Stamp the Design Take the Corner In Bloom stamp and position it in the bottom right corner of a Basic White cardstock panel (measuring 3 1/2" x 3 1/2"). Ink the stamp with Tuxedo Black Memento ink and press firmly for a crisp impression. Turn and stamp again in the top left corner.
Step 3: Add Color Use Stampin' Blends Markers .
Step 4: Add a Sentiment from the Winterly Treetops Stamp Set in Tuxedo Black Memento Ink . Adhere it to the Summer Splash card panel. Then using Stampin’ Dimensionals for added height.
Add the embellishments and ribbon ribbon for a finishing touch.









No comments:
Post a Comment