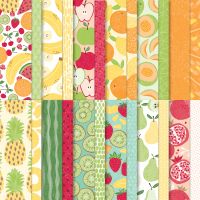
"Happy crafting, friends! 🍓🍋 This week’s blog post is all about a cheerful and fruity card design I created during my Wednesday night crafting video. I had such a blast using the brand-new Fruit Salad DSP—its vibrant colours and playful patterns are perfect for bringing a splash of sunshine to any project! Plus did you know you can get this Designer Series Paper Free with a qualifying order ($75.00) during Saleabration.
If you missed the live crafting session, don’t worry—you can catch the replay below. In this post, I’ll walk you through how to recreate the card, plus share tips for getting the most out of this delightful paper pack. Let’s dive in!"
Tips for Working with Fruit Salad DSP
- Mix and Match: The patterns in this DSP are so versatile! Try pairing bold prints with subtler ones for a balanced design.
- Color Coordination: Use the colors from the DSP to guide your ink and cardstock choices for a cohesive look.
- Fussy Cutting Fun: Some patterns are perfect for cutting out individual fruit images to use as accents.
The Card Design
For this card, I wanted to let the Fruit Salad DSP shine, so I kept the design simple yet bold. Here’s how it all came together:
Supplies Used:
- Fruit Salad DSP
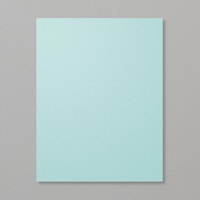
- Coordinating cardstock: Pool Party
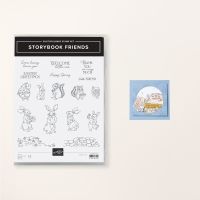
- Stamps: Storybook Friends for the sentiment
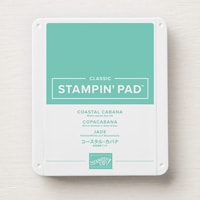
- Ink: Tuxedo Black Memento and Coastal Cabana
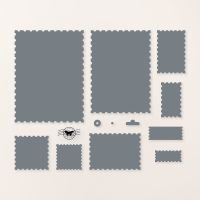
- Dies: Perennial Postage
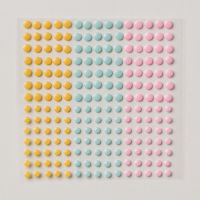
- Embellishments: Party Dots
Measurements
- Pool Party card base 8 1/2" x 5 1/2" scored at 4 1/4"
- Die cut a layer of Pool Party with the largest of the Perennial Postage Dies the blend some Coastal Cabana around the edges with a blending brush.
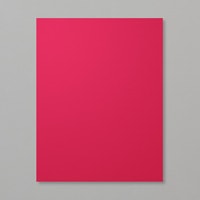
- Real Red cardstock 4 3/4" x 2 1/4"
- Fruit Salad Dsp 2" x 4 3/4" - see video
- Die cut 2 rectangles using the Perennial Postage Dies. (2 1/8" x 2 7/8")
- Add another 2 rectangles of the Fruit Salad Dsp (1 5/8" x 2 1/2")
- Die cut a layer of Basic Black and Basic White with the 2 smallest rectangles.
- Stamp the greeting from the "Storybook Friends" on the Basic White with Tuxedo Black Memento Ink.
- Embellish with the Party Dots.
Inside The Card
- Die cut a layer of Basic White with the largest of the Perennial Postage Dies.
- Fussy cut 2 strawberries from the Designer Series Paper and adhere to the bottom right corner.
Product List







No comments:
Post a Comment